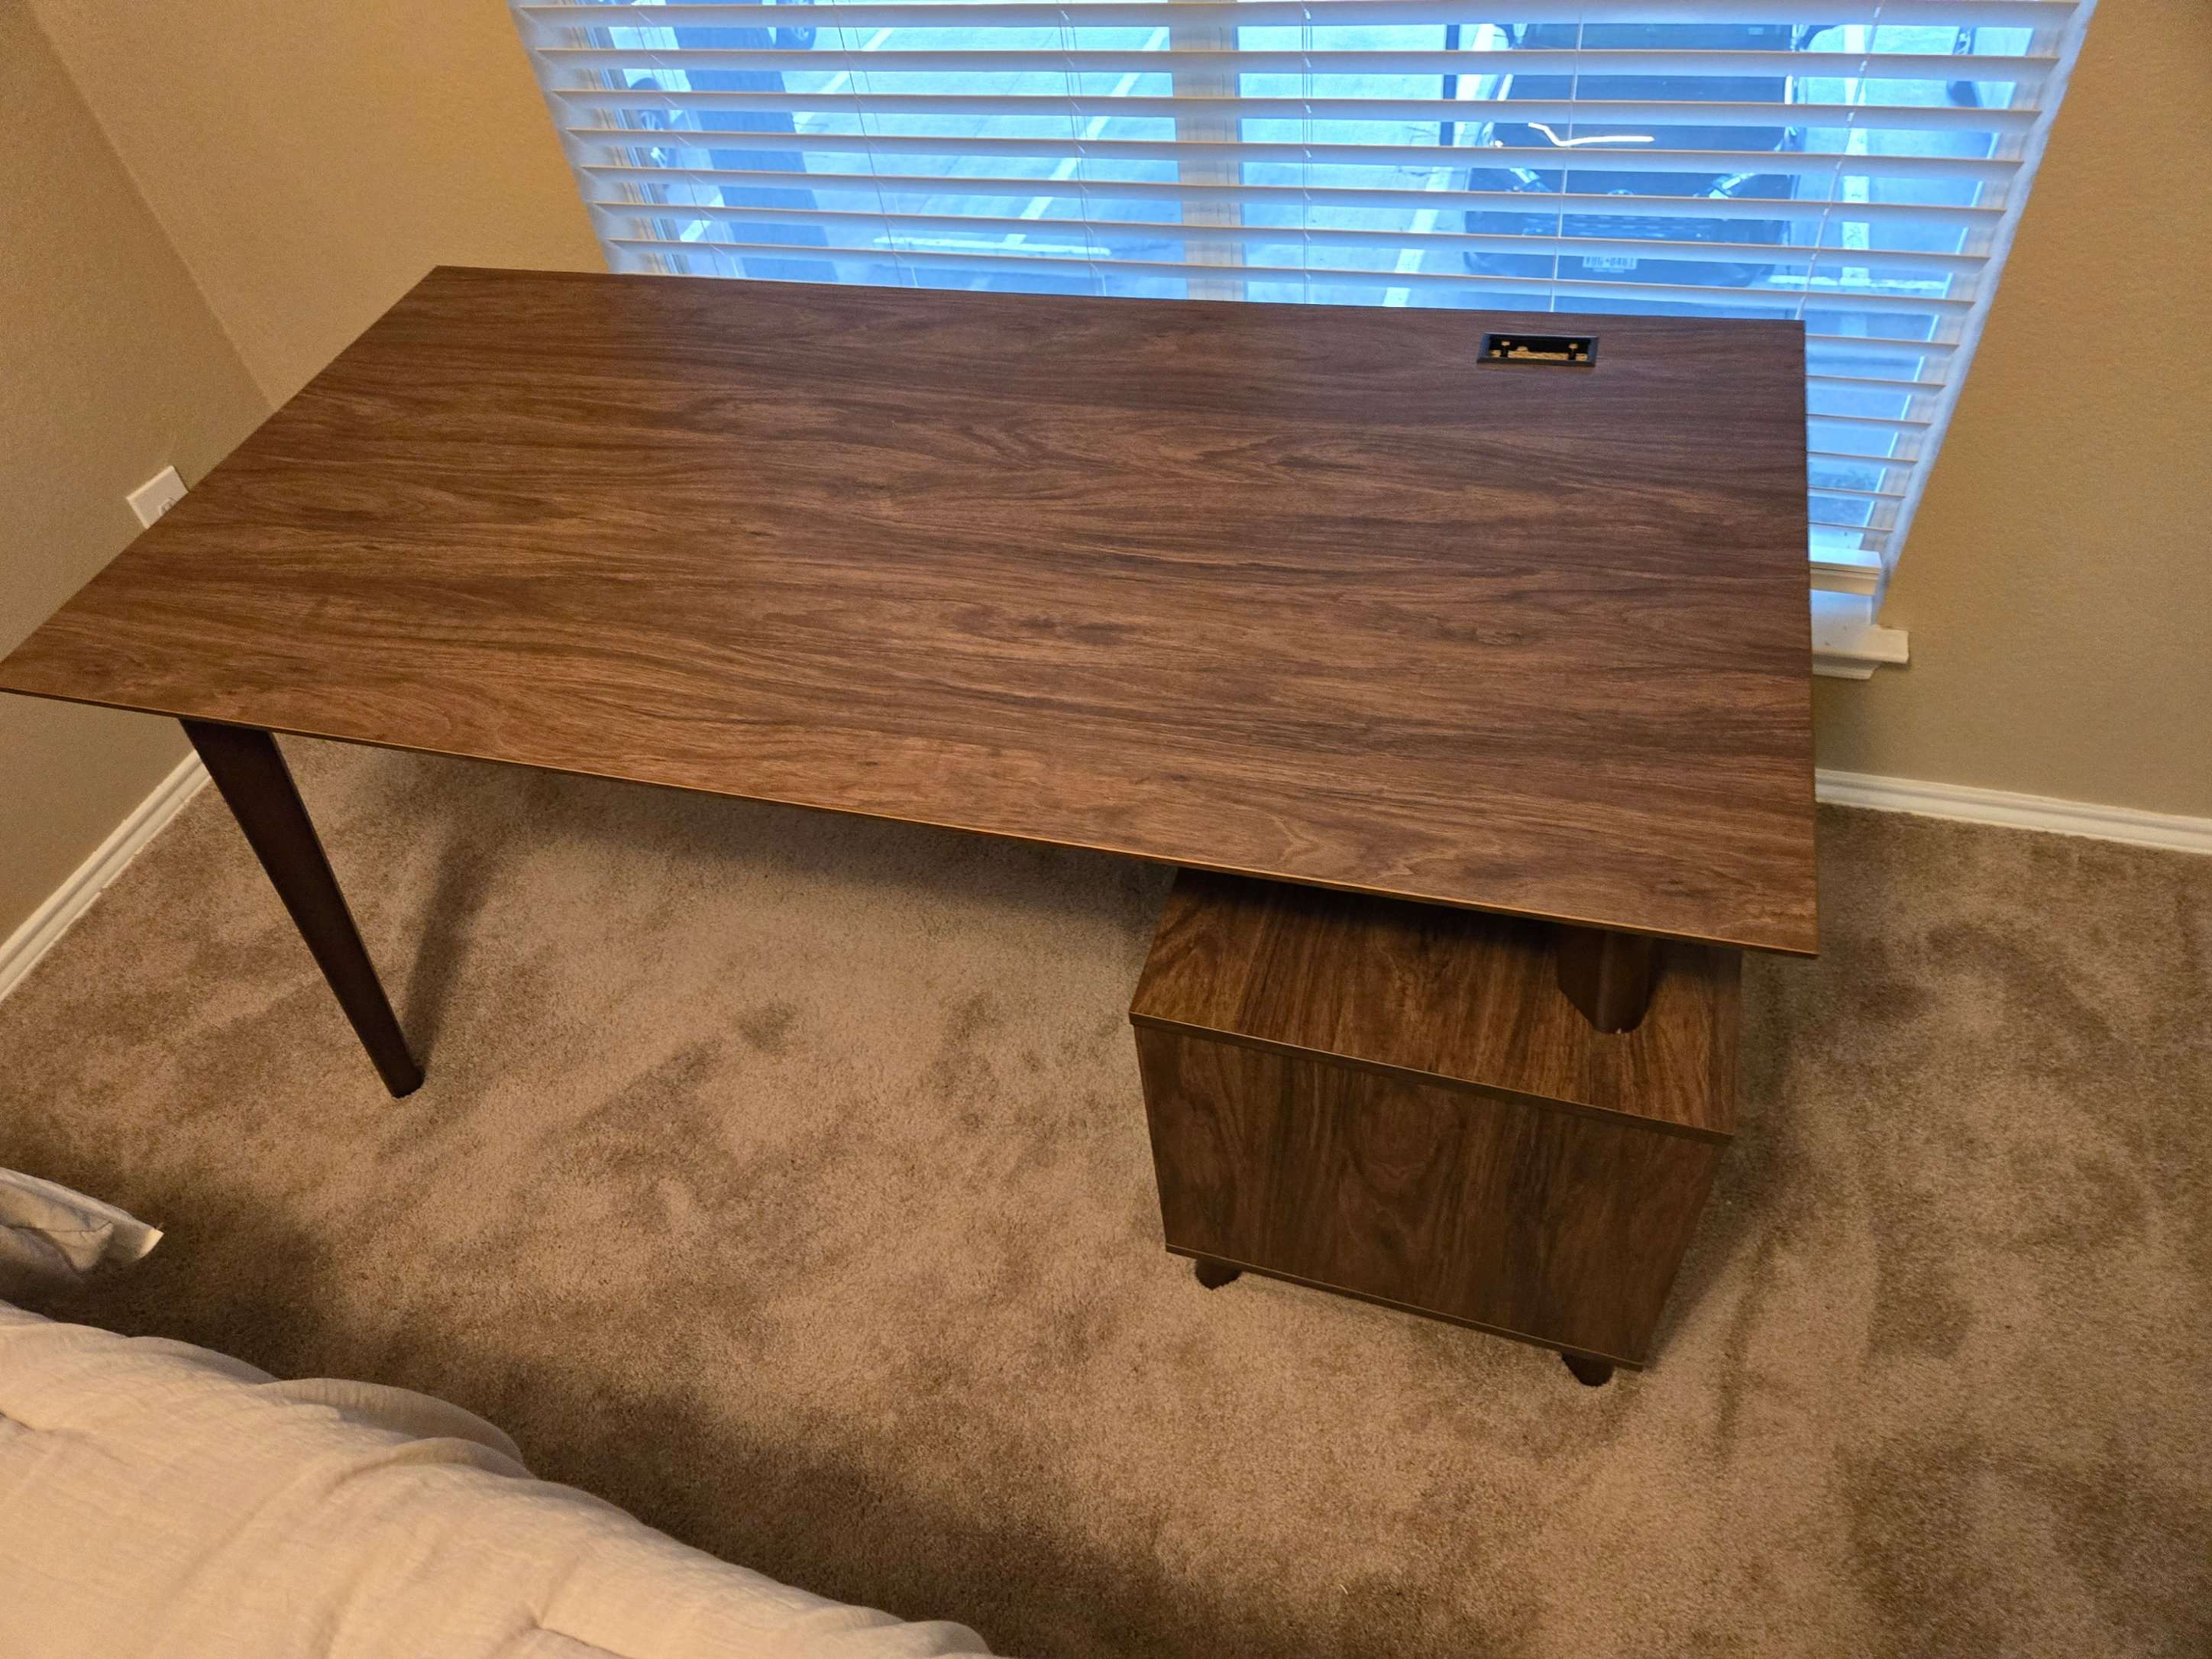
So, you've braved the Dallas or Frisco IKEA, navigated the maze, and successfully brought home your stylish new MALM dresser or KALLAX shelf. Congratulations! Now comes the part many DFW residents secretly (or not-so-secretly) dread: the assembly. Those minimalist instructions and bags of hardware can be daunting. But fear not! As your local Dallas-Fort Worth assembly experts, Mount & Fix is here with some pro hacks to make your next IKEA project smoother and less stressful.
1. Preparation is Key – Don't Skip This!
Before you even open the box fully, do this:
- Check the Part List: Compare the parts list in the instruction manual with the contents of your boxes. It's rare, but missing pieces happen. It's better to know now than midway through.
- Clear Your Workspace: Give yourself plenty of room to work. Lay down a blanket or cardboard to protect your floors and the furniture pieces, especially important for delicate DFW home surfaces.
- Gather Your Tools (Beyond the Allen Key): While IKEA provides the Allen key, having a few extra tools can be a lifesaver:
- A good quality Phillips head screwdriver (often better than the Allen key for some screws).
- A rubber mallet (for gently tapping dowels or pieces into place).
- A cordless drill/screwdriver with multiple bits (use on a LOW torque setting to avoid stripping screws or damaging particleboard).
- A small level to ensure everything is straight.
2. Understand the Instructions (Really!)
IKEA instructions are mostly pictorial. Take a few minutes to look through ALL the steps before you start.
- Orientation Matters: Pay close attention to the orientation of each piece, especially those with pre-drilled holes. A piece assembled incorrectly can set you back significantly. Look for tiny arrows or differences in hole patterns.
- Hardware Check: Notice which screws, dowels, and cam locks are used in each step. Group similar hardware together.
3. The "Sort Your Hardware" Game Changer
This is our top tip for DFW DIYers: BEFORE you start, open all those little plastic bags of screws, dowels, cam locks, etc., and sort them into a compartmentalized tray, muffin tin, or even just separate piles on a piece of paper. Label them if it helps (e.g., "A-screws," "B-dowels"). This will save you SO much time hunting for the right piece later.
4. Don't Over-Tighten, Especially with Particleboard
Most IKEA furniture is made from particleboard, which can strip or crack if screws are over-tightened.
- If using a power drill, always use a very low torque setting and finish the last turn or two by hand.
- Screws should be snug, not forced until the wood creaks.
5. Cam Locks – The IKEA Staple
Understand how cam locks work: the arrow on the cam lock should generally point towards the hole where the cam dowel (the screw-like piece) will insert. Turn the cam lock about a half to three-quarters turn clockwise (usually 180-270 degrees) until it tightens and pulls the pieces together snugly. Don't force it; if it's not turning easily, the pieces might not be aligned correctly.
6. Take Breaks & Ask for Help If Needed
If you're feeling frustrated or tired, take a break. Stepping away for a few minutes can give you a fresh perspective. And if a step seems particularly tricky or you're just not enjoying the process, remember that professional help is available!
Mount & Fix offers expert IKEA furniture assembly services throughout the Dallas-Fort Worth area. We can have your new pieces assembled quickly, correctly, and without you having to decipher a single pictograph. Save your weekend and let us handle the Allen keys!
Ready to skip the assembly stress? Contact Mount & Fix for a quick quote on your IKEA furniture assembly!
 Mount & Fix
